Repair, rescue, ride on: Sewing your motorcycle gear
Elna was named after the sewing machine her grandmother, a dedicated seamstress, used most frequently. Sewing has been part of her life for as long as she can remember. As an adult, she’s gone as far as to dedicate entire rooms in her home to her passion. At 25, she discovered another passion that I’m fairly sure you (yes, you reading this!) might share – motorcycles. Over the years, Elna has mostly ridden custom bikes, though she’s explored her fair share of street, adventure and enduro styles too.
All about Bikes visits Elna at home in Lysekil, where her sewing corner is brimming with fabrics, specialist needles, sewing machines – all tailored for different tasks. On the floor sit bags of clothing, dropped off for repairs or alterations. Elna explains how she got into sewing motorcycle clothing in the first place:
“It started when my friends brought me their bike gear – they had no one else to turn to. The benefit is, I ride too, so I understand how you move on the bike, the fit of various motorcycle garments, and how they need to perform in motion to be comfortable and non-restrictive,” Elna says, stressing the importance of proper stitching and using the right materials for function and safety.
“Otherwise, I sew just about everything – from hemming curtains to crafting figure skating dresses from scratch or tailoring everyday wear for the perfect fit. But today I’m here to share what you can do yourself – practically and economically – to keep riding in your gear!” she laughs.

Elna Karlsson
Age: 37
Location: Lysekil, Sweden
Works as: Property caretaker by day, sewing guru at Sylabbet by Elna by night
Got her licence: 2018
First bike: Honda Shadow 600
Dream bike: Indian FTR1200
Current bike: Yamaha XJ6
The basics of sewing motorcycle gear
Elna groups the most common issues with motorcycle clothing into three main categories:
- Holes in gloves, especially fingertips, after falls
- Worn-out zips
- Scuffed leather suits
Many of these minor issues are ones you can repair yourself. It might be a scuff from a long tour mishap, wear on a beloved item, or – if you compete – a safety check that fails because of a small hole. A simple repair can be the difference between getting back on the track or not. Being able to fix your gear yourself is a real freedom.
“There’s nothing wrong with wanting to be self-sufficient, but you do need to be honest about your skills. If you get it wrong the first time, it might end up costing more – or worse, the repair may not hold. Sometimes it’s smarter to hand it over straight away,” Elna advises.
-scaled.jpg)
Holes in fingertips are among the most common damages to motorcycle gear
-scaled.jpg)
This type of damage is easy to stitch up yourself
.jpg)
The technique Elna uses here is called an overcast stitch
-scaled.jpg)
And sewing – it should be done with joy!
Another common mistake is buying cheap materials – like promotional sewing thread from budget stores. I’ve seen repairs done with thread that wouldn’t hold for even a loose stitch. Stick to trusted brands like Gütermann – their thread is high-quality.
Elna pulls out a small fabric pouch – smaller than the palm of her hand. She explains that it’s compact and worth bringing on long rides – a real lifesaver if you hit trouble. Your personal sewing kit should include tailored needles and threads, small scissors, some buttons and safety pins – and ideally, a thimble to save your fingertips.
Always test-sew on a scrap piece of similar fabric before working on the actual garment. This helps you feel the fabric, check needle and thread durability, and adapt your technique for the best result.
“If it’s really bad, you can always slap some Gorilla Tape over the rip. It may leave glue residue and damage the surface, so it’s up to you whether it’s worth it,” Elna notes.
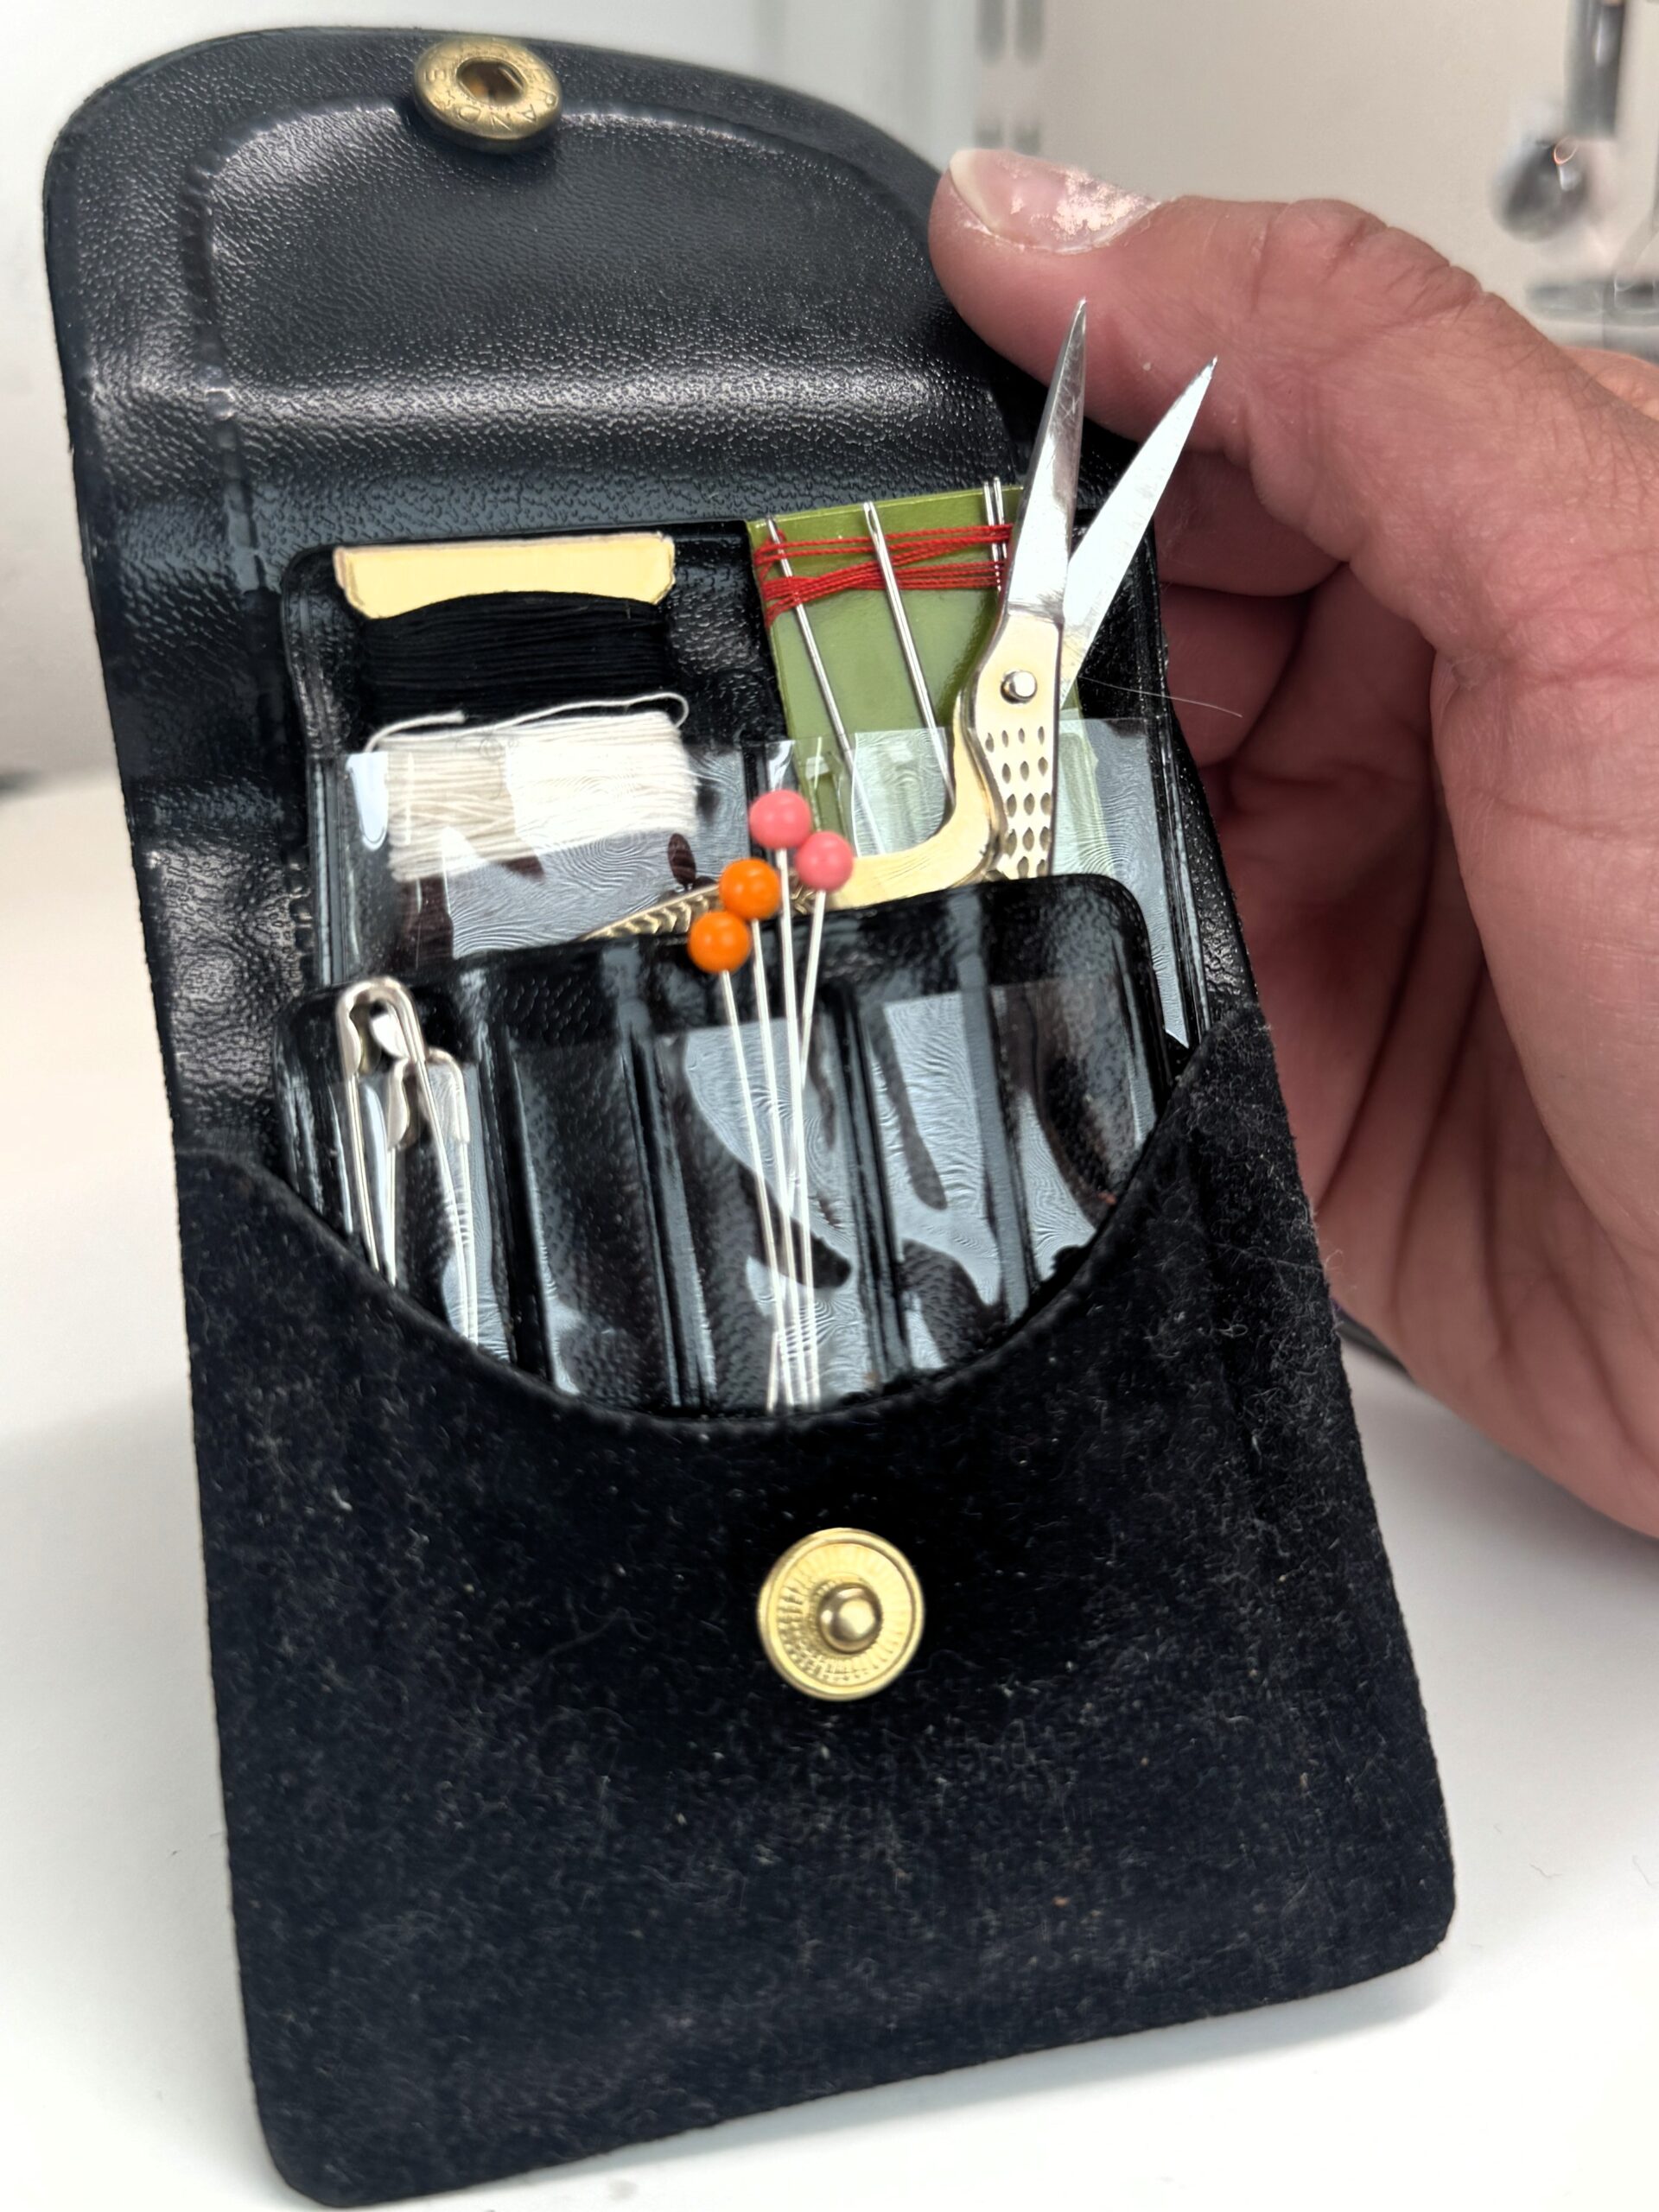
A small pouch of sewing essentials can be a lifesaver for your motorcycle gear.
The right needle, thread & technique for the right material
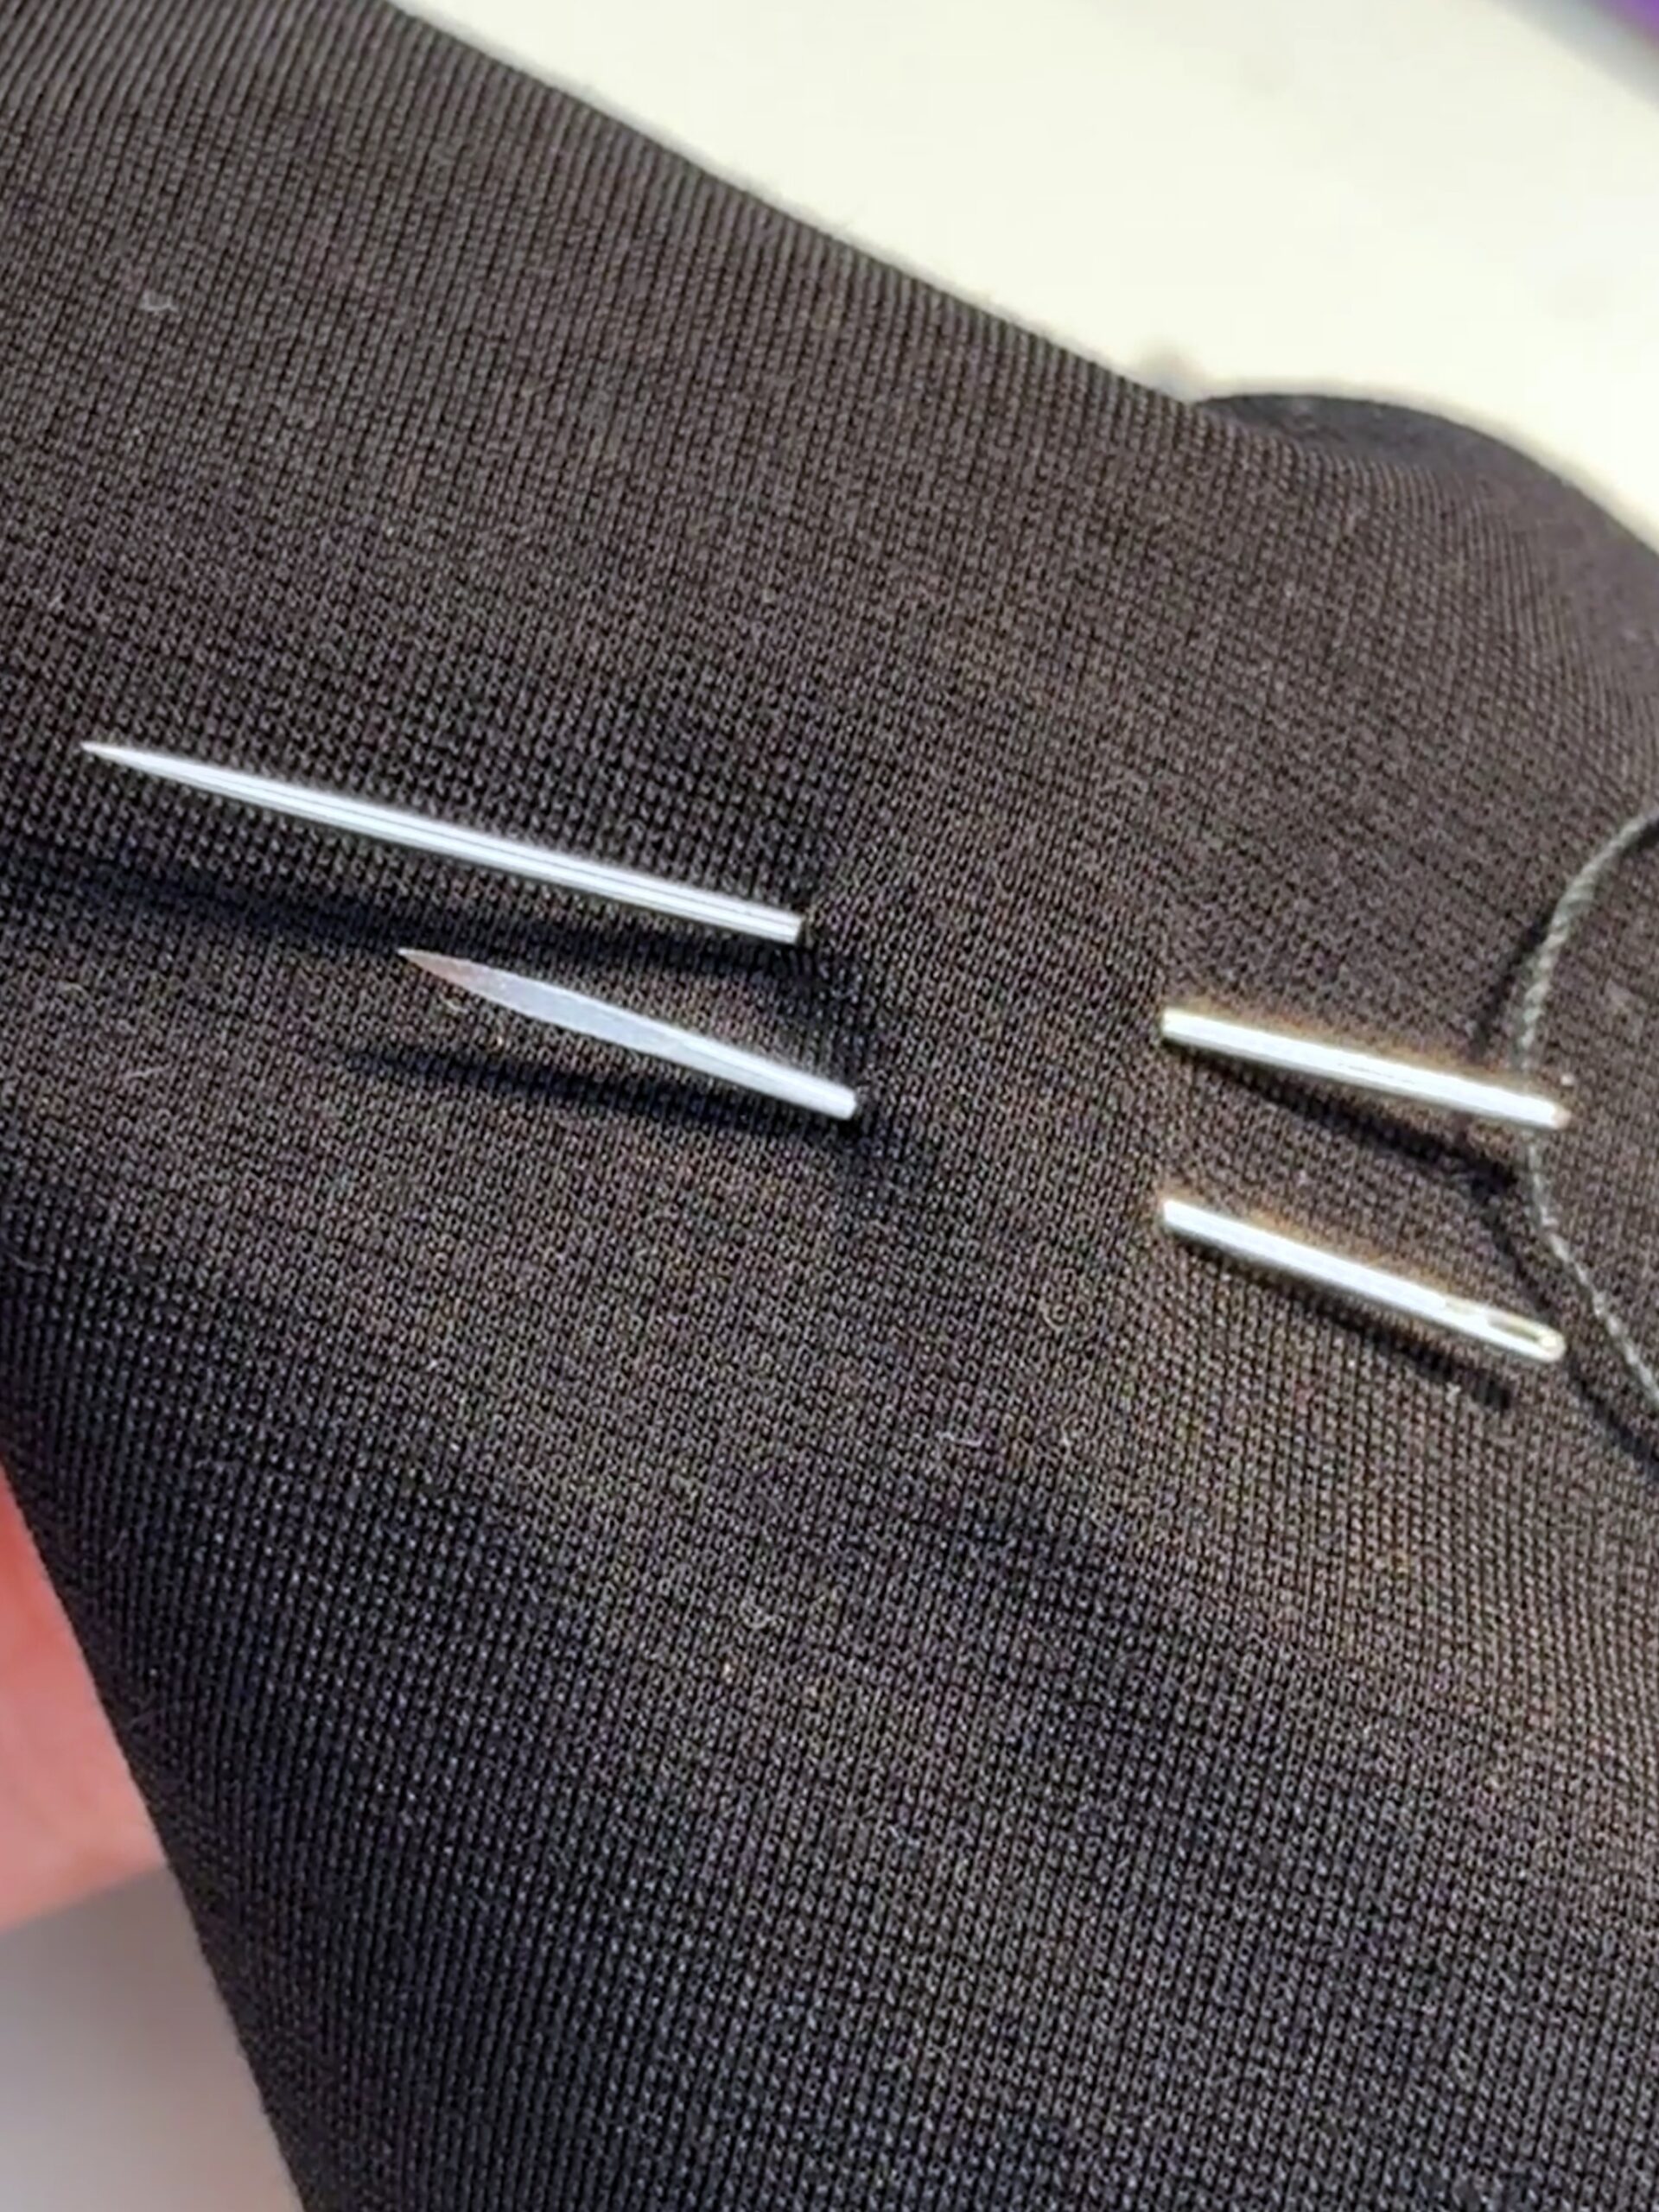
Two different needles for two different purposes – one can make the job easier, the other harder. Do you know which is which?
Several key factors determine whether a repair will hold. When it comes to thread, Elna often uses denim thread for bike gear. Cotton thread snaps too easily – instead, go for outdoor-grade, tightly woven, or saddlery thread.
Leather
Most motorcycle leathers are made from cow or goat hide – both thick and tough, though goat is slightly softer.
Premium options like kangaroo leather are lighter, pricier, and almost exclusively used in racing.
You’ll need a leather needle, which has a triangular tip unlike standard needles, allowing it to pierce tough material.
You can buy genuine leather by the roll to patch holes. Be careful when buying – faux leather offers poorer breathability, lower durability and cracks more easily than real leather.
Low-stress areas of motorcycle gear can be repaired using other materials – like underarms – where stretch softshell or perforated textiles (if it fits the design) can enhance mobility and water resistance while maintaining safety.
Remember: leather is a living material with limited stretch – not as much as fabric. You’ll need to keep it taut as you sew.
“Sewing on a patch just for decoration is no walk in the park – it can be more exhausting than a gym session,” Elna laughs.
-768x1024.jpg)
-768x1024.jpg)
-768x1024.jpg)
-768x1024.jpg)
-768x1024.jpg)
-768x1024.jpg)
-768x1024.jpg)
Textile
Most textile motorcycle gear is made from synthetic fibres like polyester, nylon (Cordura), polyamide, Teflon (Gore-Tex), rayon/viscose and Kevlar – often mixed with spandex or cotton. Generally, textiles are easier to sew than leather but still dense. For these, denim needles are recommended – they’re tough and won’t bend.
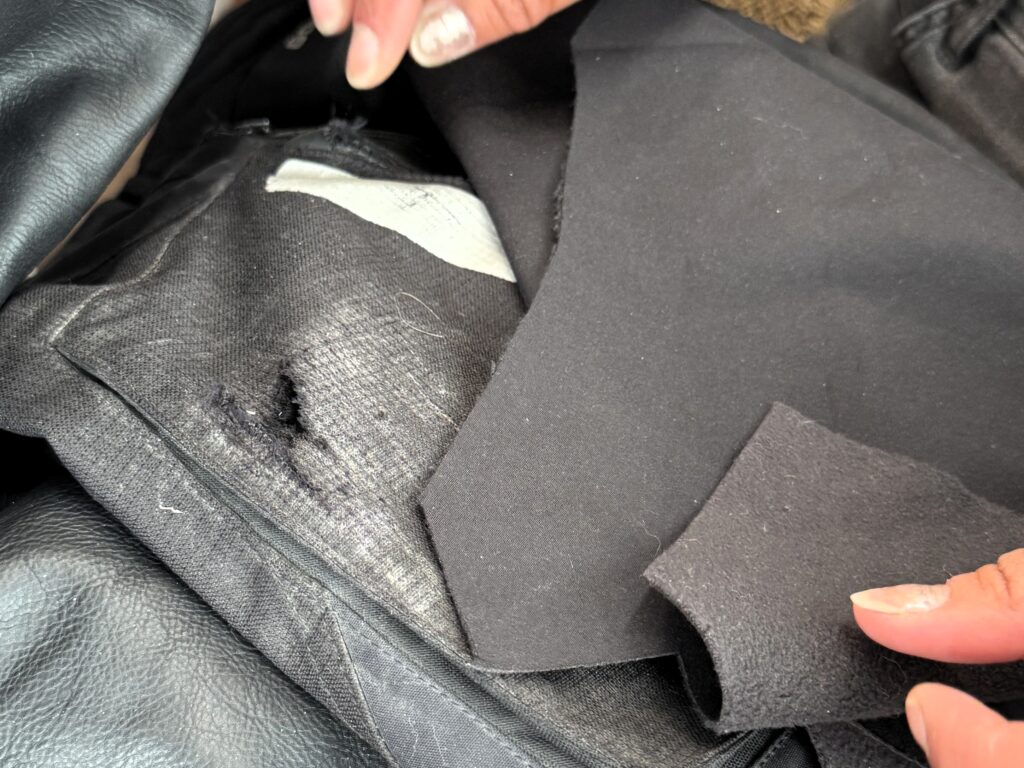
With Gore-Tex, be extra cautious – every pinhole compromises its waterproofing. Elna recommends *Flisofix* (also called *Vliesofix* or *Bondaweb*) – a heat-activated adhesive fabric available by the roll. Cut a piece to fit the hole, place it inside the garment with the shiny side facing out, and press with an iron
-768x1024.jpg)
-768x1024.jpg)
“It takes pressure and heat for the Flisofix to bond properly. In an emergency, I know from personal experience that you can use a hair straightener instead of an iron – but since glue residue sticks to the plates, the straightener will be ruined. However, it does work if you place baking paper or aluminium foil between the Flisofix and the plates. So, in other words, a heat gun won’t do the job.”
Gore-Tex is available by the roll, but it comes at a higher price per square metre than the other options mentioned. Otherwise, softshell can be used to patch holes – both in Gore-Tex garments and other types of fabric.
Essential hand-stitch techniques
A stitch should be 2–3mm long – anything larger weakens the seam and looks untidy. The technique you choose depends on the material, location, and type of repair. Elna cheekily suggests practising these four techniques instead of doomscrolling:
1. Whip stitch
A simple forward stitch angled diagonally from back to front.
*Use for:* Small holes, temporary fixes, or holding fabric in place.
2. Running stitch / backstitch
Needle moves forward and then slightly back, creating a dense, strong seam.
*Use for:* Permanent repairs or reinforcing seams under stress.
3. Overcast stitch
Diagonal stitches across edges in a spiralling pattern – decorative yet functional.
*Use for:* Sealing holes in leather or thick textile, or binding two edges.
4. Blanket stitch
Looped edge stitch that prevents fraying and reinforces fabric borders.
*Use for:* Securing worn edges or preventing unraveling.
Always pull thread gently – rushing can cause it to tangle.
When to call in the pros
Some repairs are just too complex for DIY – no matter how handy you are.
“Replacing a zip – even on everyday clothes – is fiddly. There are often layers of lining and reinforcement. Get it wrong and you risk comfort, function, and safety,” Elna says.
The same applies if a garment is seriously damaged – like a torn-off sleeve or a split trouser leg. Those jobs need the right know-how and equipment to be done properly.
Patch It, stitch It, keep riding
With the right prep, minor motorcycle gear repairs are absolutely doable. Beyond saving money, it’s empowering to solve problems and extend your gear’s life with your own hands.
“Start small, get to know your materials, and practise your hand stitching until your seams are neat, strong and tidy. It’s not rocket science, but you need to respect the craft,” Elna concludes.
If you’d like to learn more about sewing and repairing your motorcycle gear, follow *Sylabbet by Elna* for more tips, guides and inspiration.
Best of luck with your motorcycle sewing adventures!

Robin Pecillo